-
Gushu Industrial Zone Xixiang Street, Bao'an District, Shenzhen
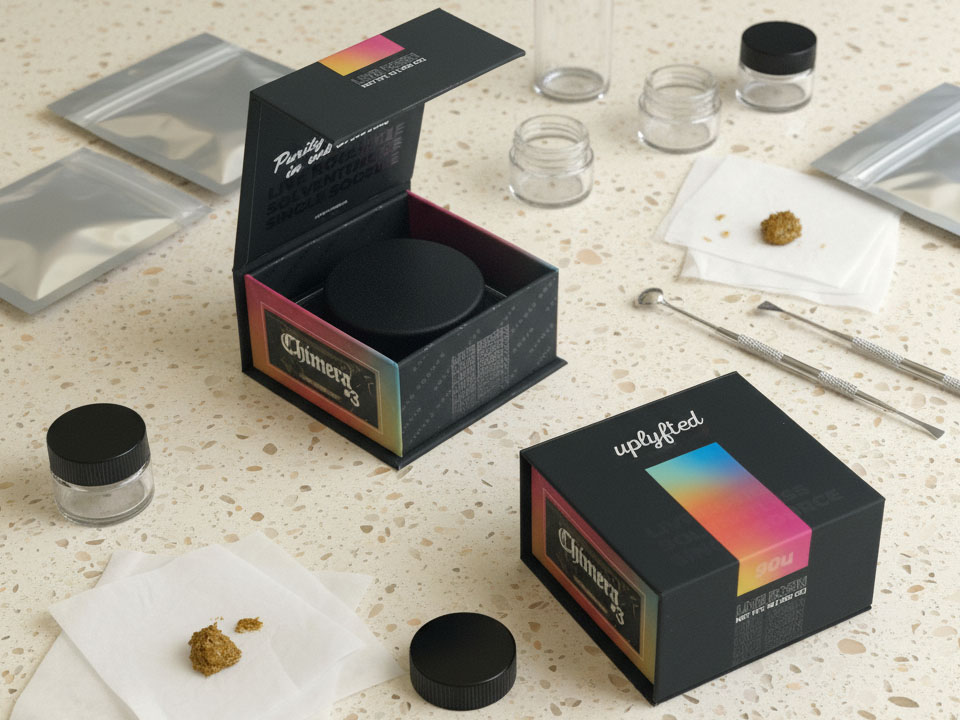
Step-by-Step Guide to Using Custom Printing on Concentrate Container Packaging
“People don’t buy products. They buy the stories behind them.” — at least that’s how I like to think about great packaging.
“People don’t buy products. They buy the stories behind them.” — at least that’s how I like to think about great packaging. For a concentrate brand, your container is more than a vessel: it’s your opening remark to a retailer, your handshake with a consumer, and often the first impression. When done right, custom printing transforms your concentrate container from “just legal” to “memorable and premium.”
If you’re responsible for packaging decisions, this guide is for you. Let’s walk through a full, emotionally intuitive, detail-rich process designed to earn respect from your peers, delight your customers, and streamline operations.
Table of Contents
1. Ground Yourself in Reality (Requirements + Vision)
Before any design tool opens, spend time mapping two worlds: the legal world and the creative world. Neglect one, and your packaging can fail for compliance or underwhelm on the shelf.
Legal & Functional Grounding
- Child-resistance & tamper evidence: In nearly every state, concentrates must be in child-resistant packaging. Your printing design must respect those mechanisms — don’t print over flextabs, hinge points, or lock surfaces.
- Labeling requirements: THC/CBD content, batch numbers, universal cannabis symbols, health warnings, ingredients—all mandatory and non-negotiable.
- Barrier & protection needs: Many concentrates are sensitive to light, heat, moisture, and air. Your substrate and coatings must shield the product.
- Durability constraints: Think of how the jar or pod will be handled—by delivery trucks, dispensary staff, pocket carry. The printed surface must withstand scuffs, humidity, and friction.
- Volume and cost constraints: Is this a limited-edition batch or your main SKU? Small runs may benefit from digital methods; large runs should optimize for cost efficiency.
Brand & Market Vision
While regulations set boundaries, your brand voice should guide how you push design within them.
- Who is your customer? Connoisseurs, newcomers, medical users?
- What feeling do you want to evoke? Trust, premium, artisanal, high-tech, eco?
- What visual vocabulary—colors, textures, graphic motifs—can you lean on to convey that feeling?
- What is your competitive set doing? Study shelf competition: which concentrate jars or tins are selling best in dispensaries? What packaging “language” is resonating?
By holding both sides—legal + aesthetic—you’ll avoid the trap of designing something pretty but unusable, or perfectly compliant but forgettable.

2. Choose Container Format & Substrate with Purpose
Your design must live somewhere. The choice of container is as critical as the artwork itself.
Container types & their trade-offs
- Glass jars / drams: high-end look, good inertness, but curved surfaces make printing challenging.
- Metal tins / aluminum jars: durable and good for engraved or foil effects.
- Plastic / pods / silicone containers: modern, lower cost, but ink adhesion and deformation must be tested.
- Sleeves / outer boxes: when container surfaces are constrained (e.g., small pods), an outer printed sleeve can carry brand visuals, while the interior container remains minimal.
Substrate and finishing considerations
- Use UV-resistant inks or coatings if your concentrate is sensitive to light
- Select coatings or laminates to prevent smudging, scratching, or chemical degradation
- Consider tactile finishes (soft-touch, linen, embossing) to give premium feel
- Choose eco-friendly materials if sustainability is part of your brand promise
When possible, talk with your packaging vendor early. They can recommend substrate + printing combinations that minimize risk while offering visual impact.
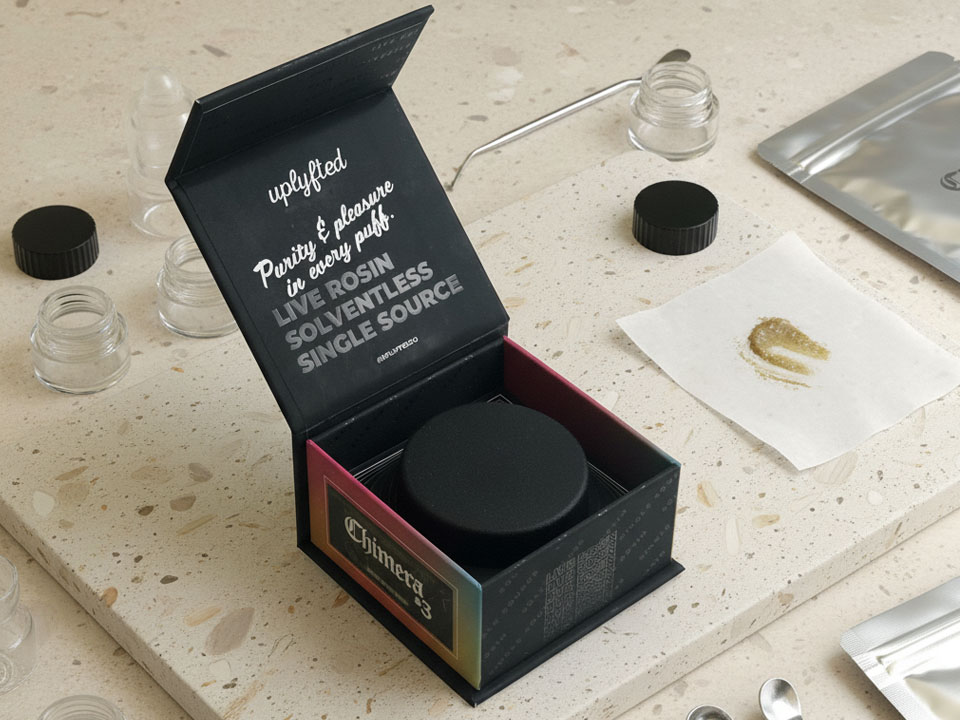
3. Build the Art & Layout Thoughtfully
This is where strategy meets execution. The artwork must tell your brand story and satisfy mechanical, regulatory, and aesthetic constraints.
Work with a dieline & mockups
Request a precise dieline (flat layout) of your container. Then:
- Mark all folds, cuts, edges, safe zones, flexible zones, hinge areas, closure surfaces
- Identify “no-go” zones—areas where printing could interfere with locking mechanisms
- Leave bleed and safe margin zones so art doesn’t get cut off or misregistered
- Create 3D mockups or renderings to visualize how the art wraps around curves
Layer your design
Divide your design into logical layers:
- Base color & background
- Brand graphics, logos, motifs
- Accent effects (foil, spot UV, texture)
- Compliance & informational layer (warnings, batch code, symbols)
This modular layering gives you flexibility: for example, if regulatory text changes, you can rework that layer without redoing the whole art.
Emphasis techniques
- Use spot-foil or metallic accents sparingly — highlight your logo or premium words
- Use embossing/debossing or texture around brand name or border to give depth
- Use contrast (matte + gloss) to guide the eye to key brand elements or product name
- Be cautious: avoid placing critical compliance text over decorative textures or patterns that reduce legibility
Ask your design team to create both flat art and “wrapped” visuals so stakeholders (legal, operations, marketing) see how it looks on the real container.
4. Choose Your Printing Methods & Finishes (Based on Scale & Quality)
Different methods offer different sweet spots. Choosing wrong can cost you money or ruin a product.
| Method | Best Use | Advantages | Risks / Considerations |
|---|---|---|---|
| Digital / Direct-to-object | Short runs, variable data | Low setup, flexible, good for multiple SKUs | May be slower, cost per unit higher |
| Offset / Flexographic | High-volume runs | Cost-effective per unit, full-color quality | Higher setup cost, less flexibility |
| Pad / Screen printing | Curved or irregular shapes | Good adhesion, deep ink density | Limited color count, registration challenges |
| In-mold labeling (IML) | Plastic containers molded | Label is integral, durable | Higher tooling cost, less flexibility |
| Finishes (foil stamping, spot UV, embossing, soft-touch, varnishes) | Add premium texture & shine | Elevates perceived value | Each effect adds cost, alignment risk |
Negotiate with your printing vendor. Ask for mockups, tests for ink adhesion, scratch tests, and registration tolerances. View test runs under harsh conditions (heat, cold, humidity, transport) before committing.
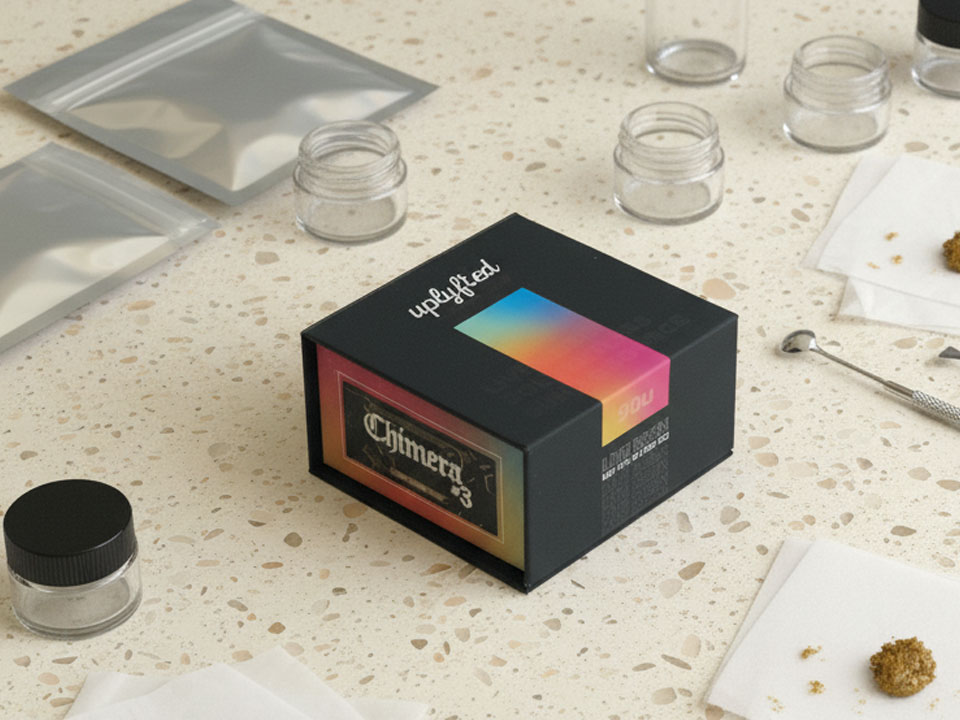
5. Prototype & Conduct Real-World Testing
The difference between a good design and a market-ready one lives in the prototype stage.
- Produce fully finished prototypes with all prints and finishes
- Test the mechanical performance: child resistance, tamper seals, threads, lid torque
- Expose to stress conditions: UV light, heat/humidity cycles, drop & impact, abrasion
- Evaluate legibility and clarity: read your compliance text under store lighting, in motion, under glare
- Get feedback from internal stakeholders and even select dispensary-facing partners: are they impressed, skeptical, or confused?
Expect iterations—rarely is the first proof perfect. Each feedback loop refines ink density, substrate, finish, or layout.
6. Scale Production with Control & Governance
Once your prototype is validated, you move into scale. But that’s not a set-and-forget phase.
- Define quality protocols: sample inspections, defect thresholds, color-variance tolerances
- Retain a golden sample / master reference to compare all future runs
- Ensure serialization or lot coding is integrated (printed or over-labeled)
- Account for overruns / buffer quantities (typically 2-5%) to absorb defects
- Align your secondary packaging (boxes, trays, shippers) so all elements protect and stack well
- Institute SOPs (Standard Operating Procedures) to document each step, pass gate approvals, and manage errors
Your operations team, legal group, and logistics must see marijuana packaging as a system, not just a visual.
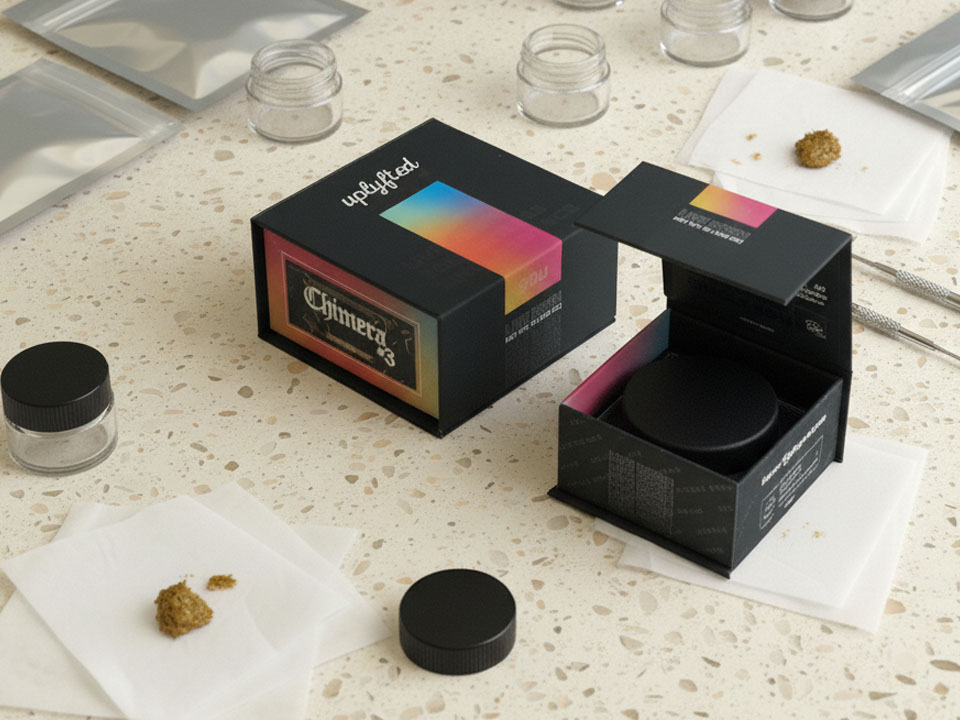
7. Launch, Observe & Iterate Forever
Your packaging isn’t final when it ships—it lives in the field. Make observation and iteration part of your DNA.
- Gather market feedback: from dispensaries, customers, and your own salesforce. What are people saying about quality, legibility, durability?
- Monitor sales data: did the variant with embossing or foil sell better? Did certain visuals correlate with better sell-through?
- Watch regulations closely: labeling laws, warnings, symbols change often in cannabis. Your design must stay modular so you can adapt.
- Plan seasonal or limited-edition updates: refresh with new colors or motifs, but preserve core brand identity
- Document lessons learned: build a “lessons repository” for your brand’s packaging projects
Bonus: Real Brand Example (Hypothetical but Plausible)
Imagine Golden Resin Co., launching a live resin pod line. They wanted something premium, but with tight initial runs. Here’s how they approached it:
- They scoped requirements across three target states (CA, OR, NV) to see child-resistant and label variance.
- They selected an anodized aluminum pod container with a matte black coating—the matte surface allowed further accent printing.
- Their designer built a layered dieline: base charcoal gradient, a cannabis extract droplet motif, gold foil lines, and compliance/text layer as a separate mask.
- They used digital direct printing for their first small batch, with spot-foil over the logo.
- Prototypes endured drop tests, heat/humidity cycles, and abrasion—some had micro-scratches, so they adjusted the coating slightly.
- They enacted strict QC: every 500 units, one sample from front, middle, back of run tested for color, adhesion, finish flaws.
- On release, dispensaries commented on how elegant the pods looked. After analyzing sales, Golden Resin found the gold-accent version outsold the plain by 15 %. They rolled that version forward and adjusted future labeling layers to be swappable for new regulation revisions.
Their packaging became a story—“sleek, safe, premium”—reinforcing their brand promise every time someone touched the pod.
Comments
ASTM D3475 biodegradable pre roll packaging Bulk Wholesale Packaging cannabis branding cannabis packaging cannabis packaging compliance cannabis packaging manufacturer cannabis packaging wholesale Cheap Cannabis Packaging child-resistant child-resistant packaging child resistant cannabis packaging child resistant packaging child resistant pre roll packaging China packaging manufacturer Concentrate Container Packaging concentrate containers custom cannabis packaging custom pre-roll packaging custom pre roll boxes custom vape boxes Dispensary Packaging eco friendly packaging ISO 8317 marijuana packaging OEM/ODM OEM/ODM cannabis packaging OEM/ODM Wholesale OEM cannabis packaging OEM ODM Cannabis Packaging OEM ODM Packaging paper tube packaging pre-roll packaging Pre Roll Packaging sustainable cannabis packaging Sustainable Packaging Sustainable Vape Packaging tamper-evident Tamper-Evident Packaging TPD compliance Vape Cartridge Boxes vape cartridge packaging wholesale cannabis packaging Zhibang Zhibang China factory

